Course Layout
The Nightmare, opened in August 2003, and is the sister course to The Dream. Both courses are located just minutes off of Interstate 75. Just two hours from the Detroit suburbs gives you the ability to tee off in the morning and be home before dinner, or play 36 and arrive home in the evening. Stay with us for that getaway golf weekend, or stop in for a round before you head up north, or get that last round in before you head home.
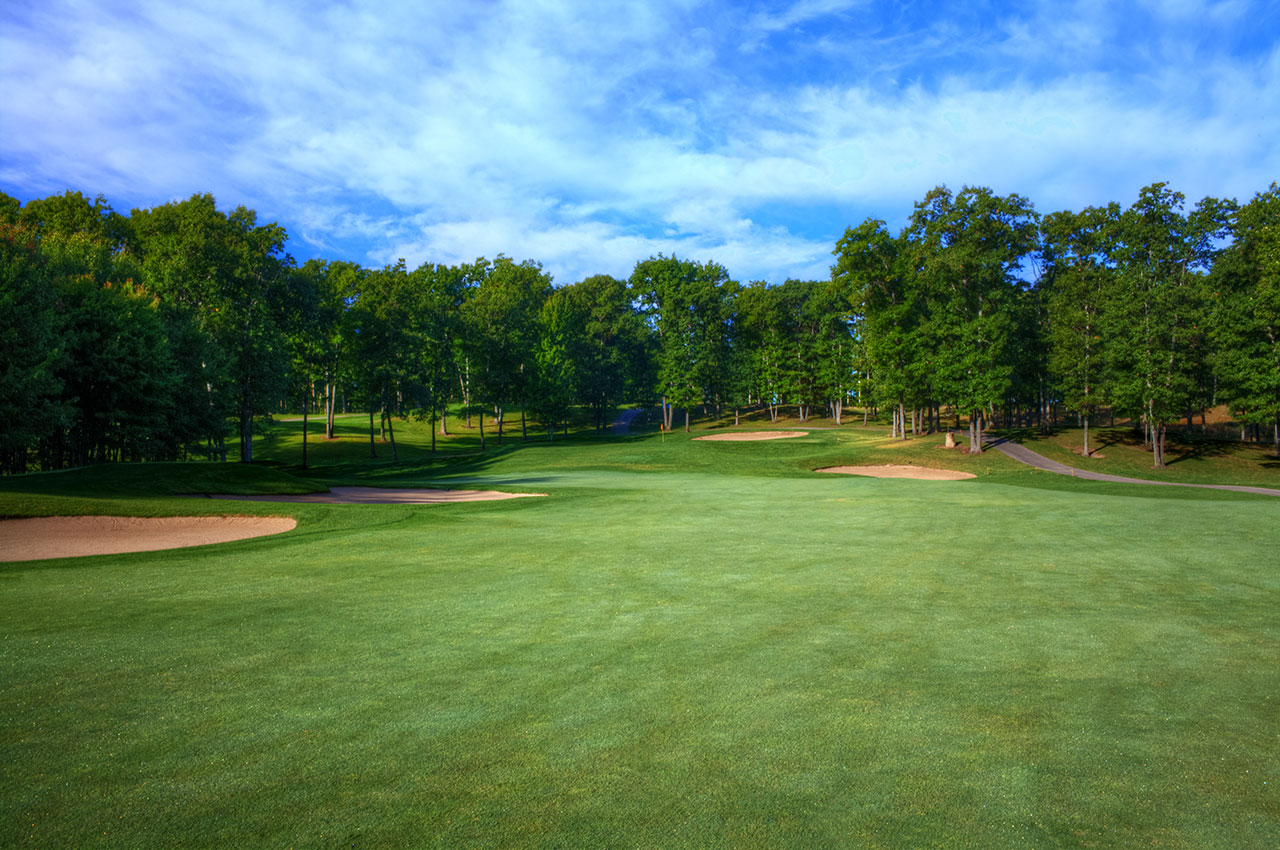
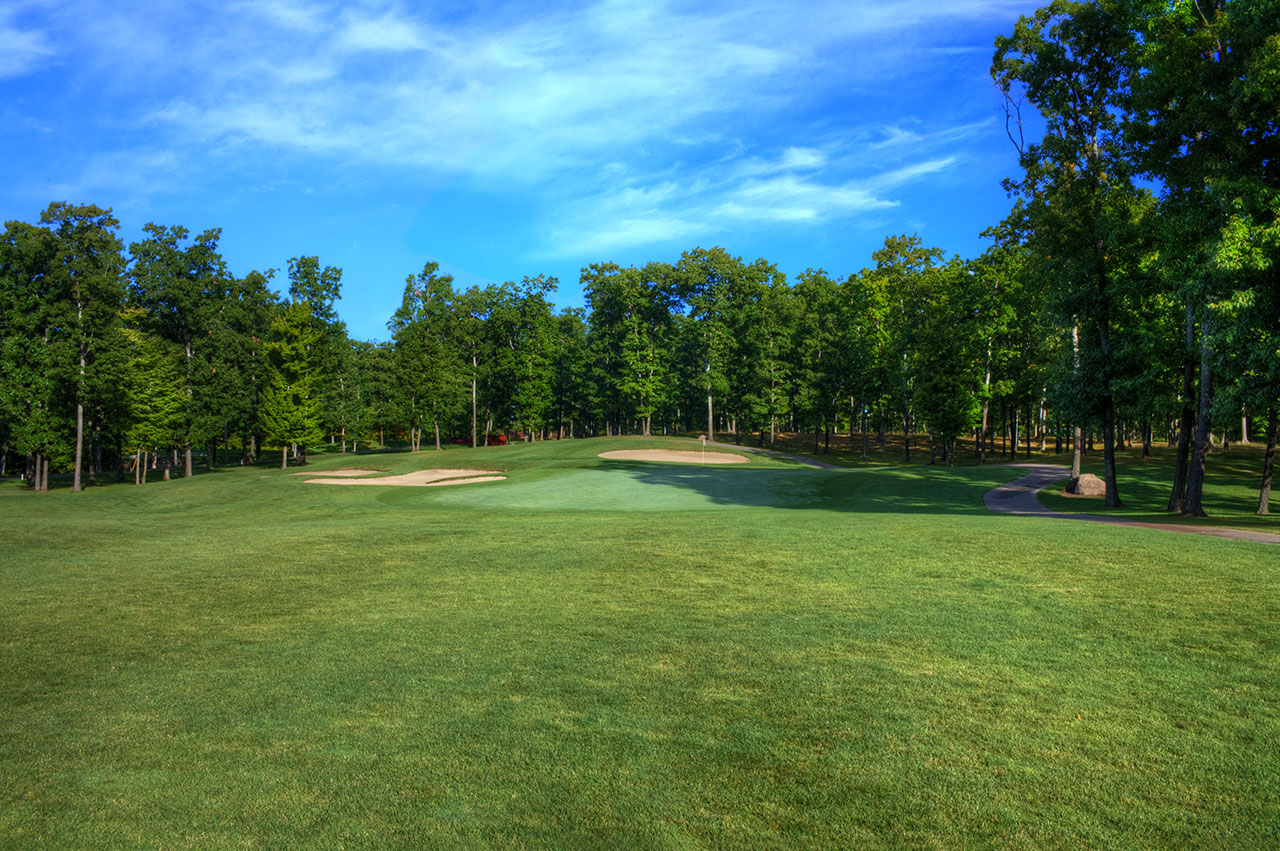
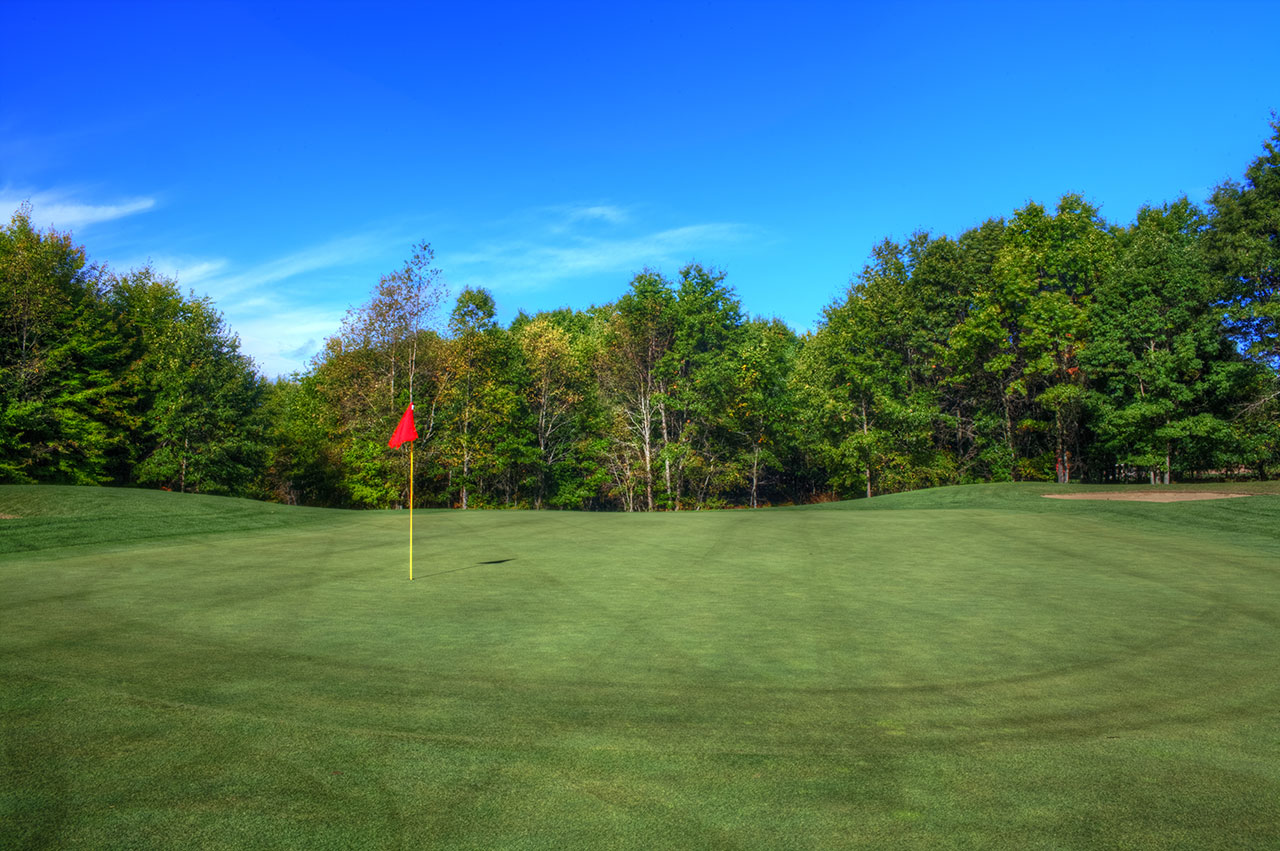
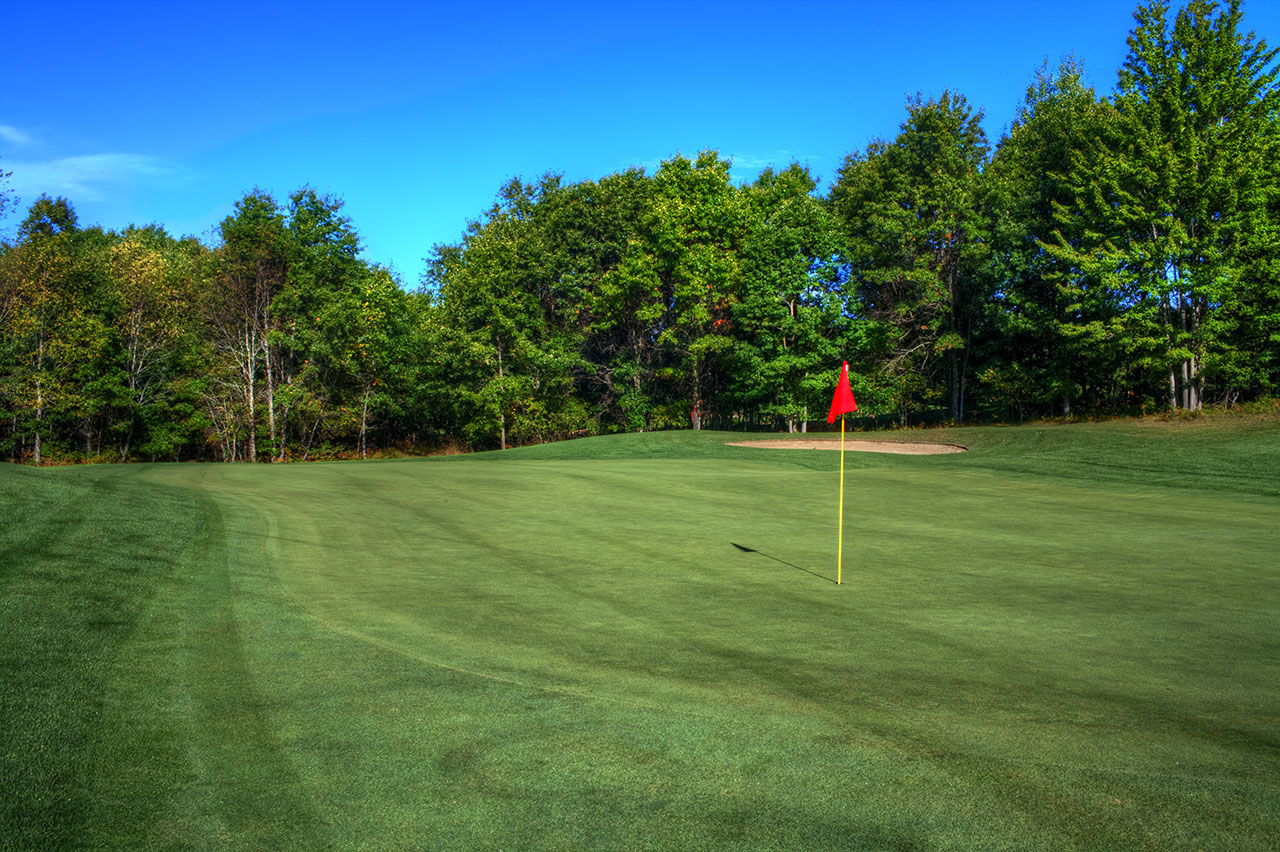
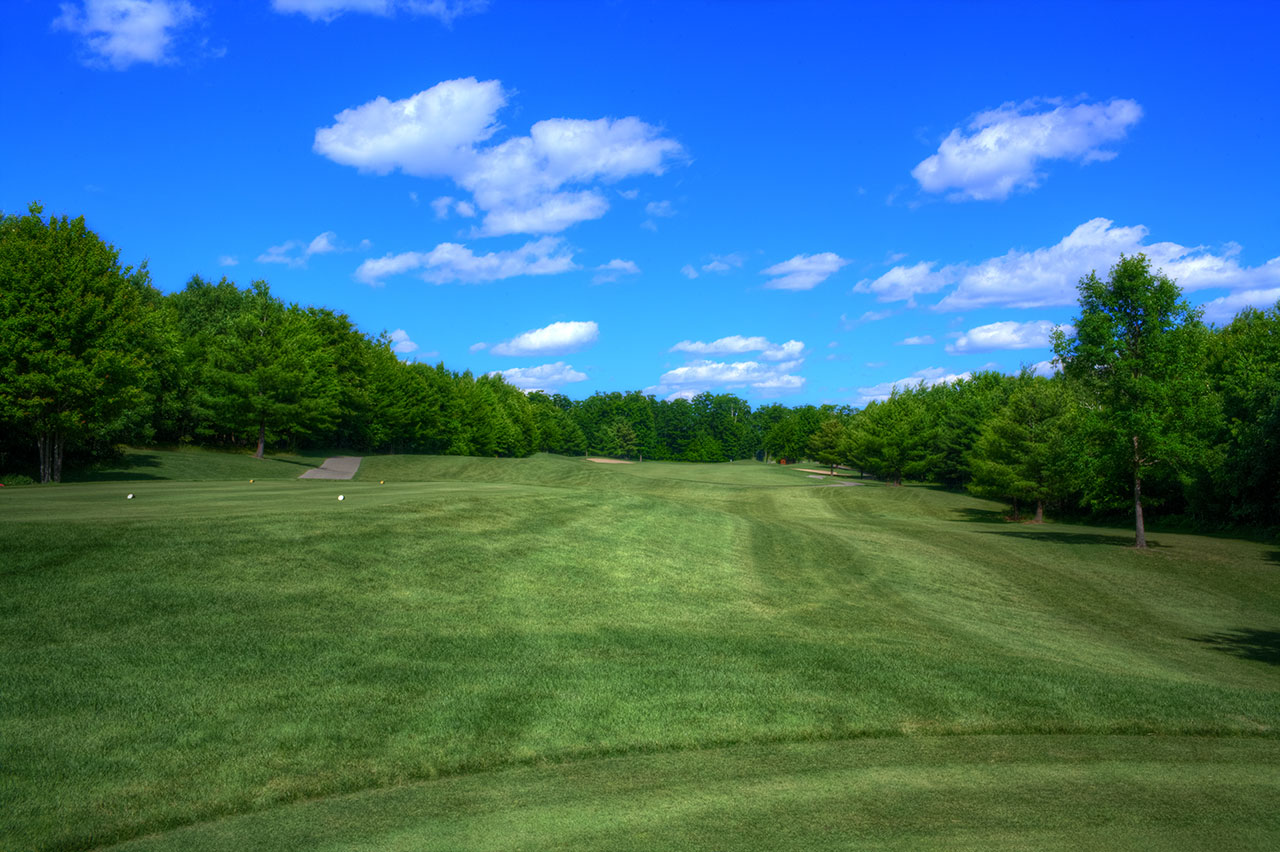
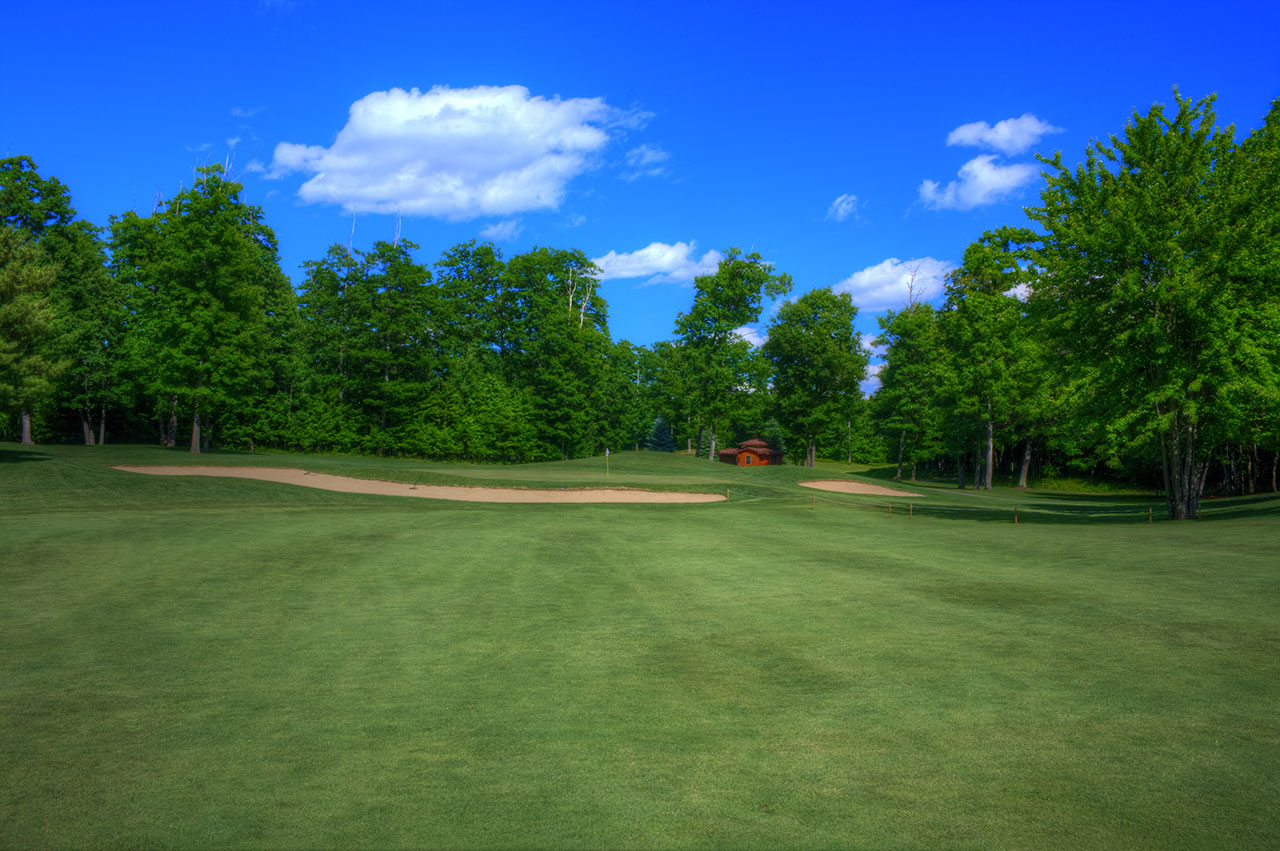
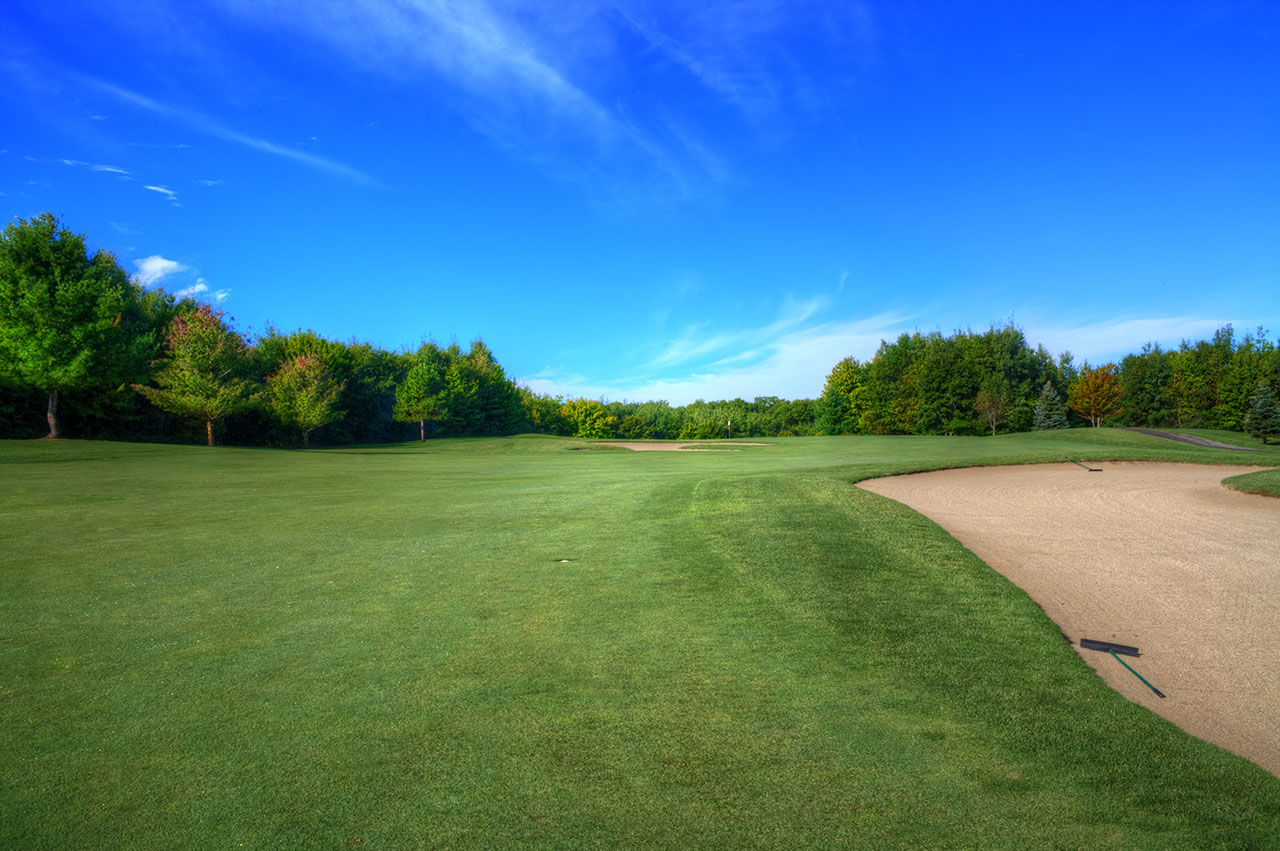
Signature features include generously sculpted bent grass fairways and huge, mildly undulating greens that roll quick and true, and are an absolute joy to putt on.
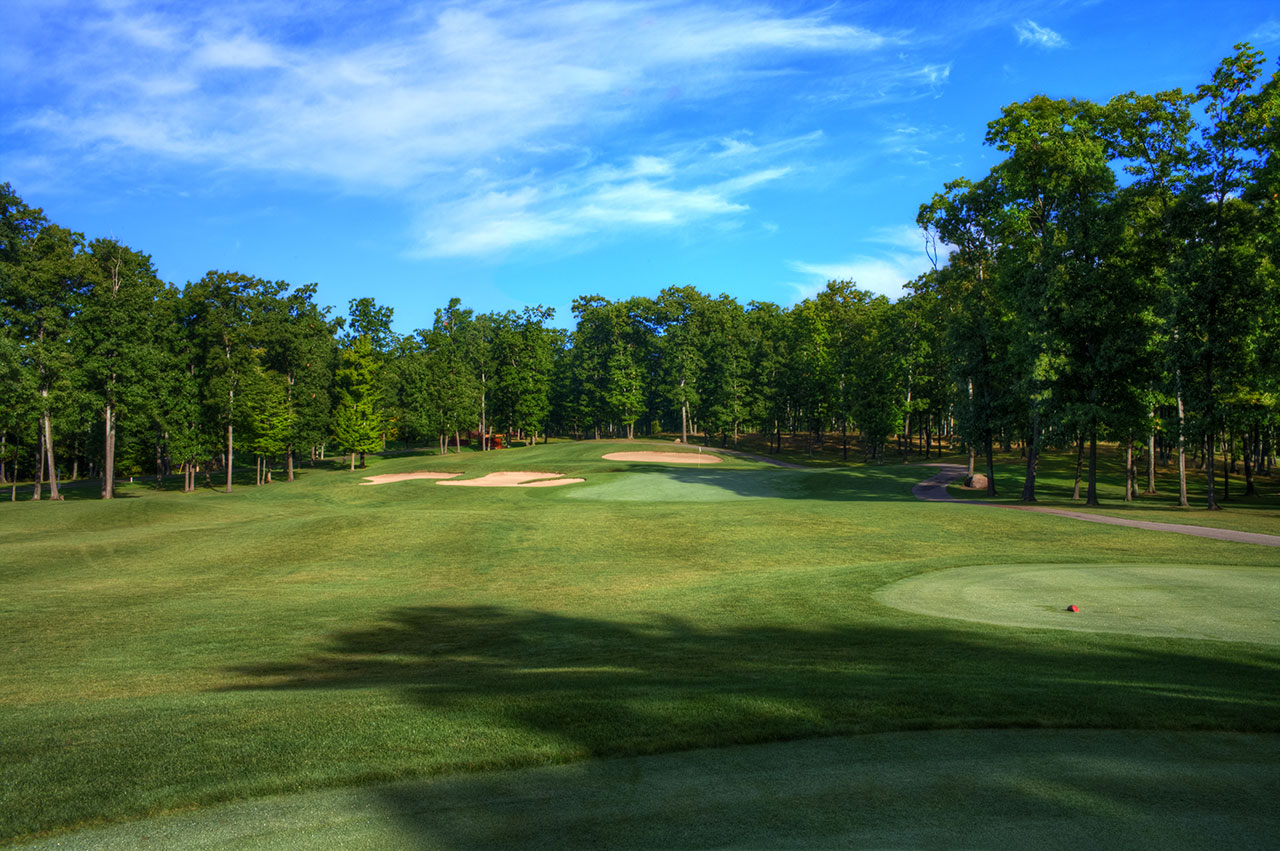
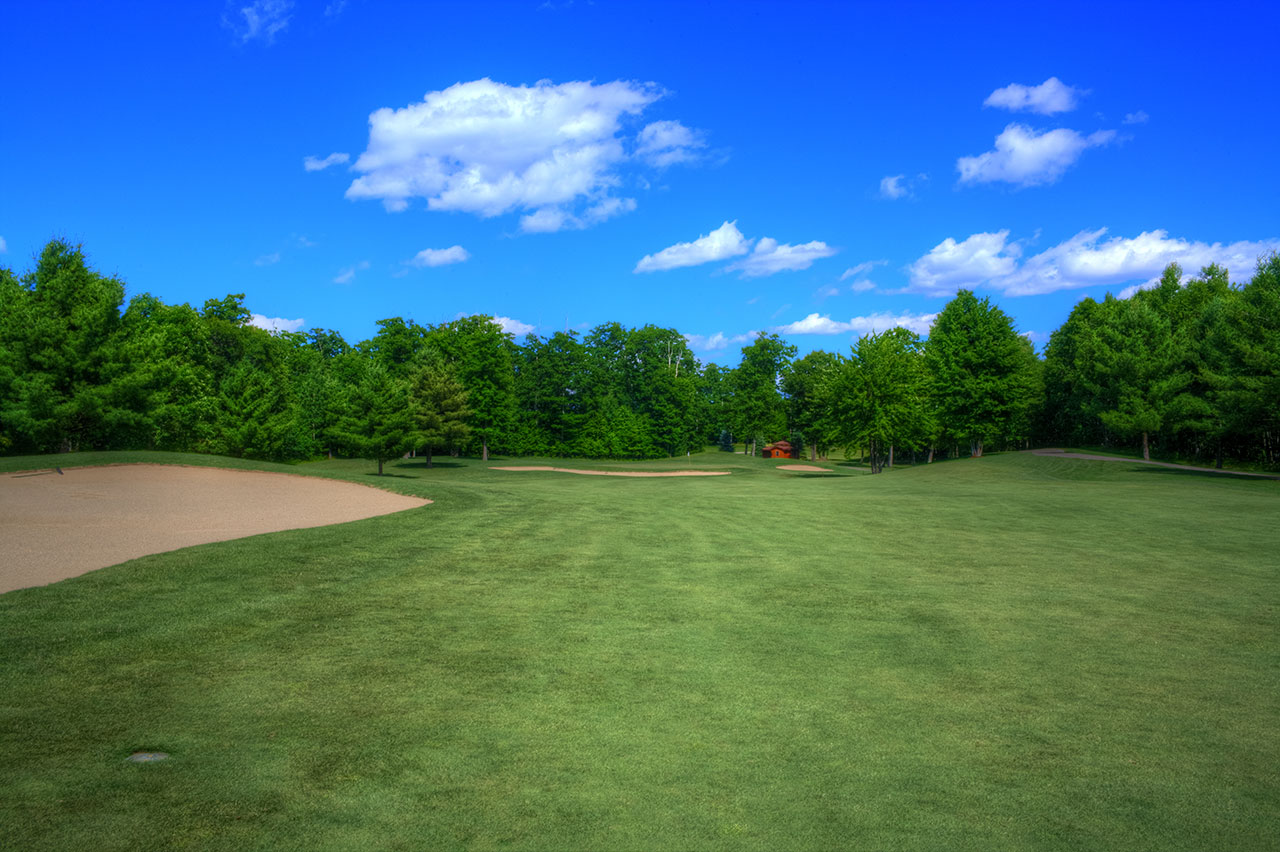
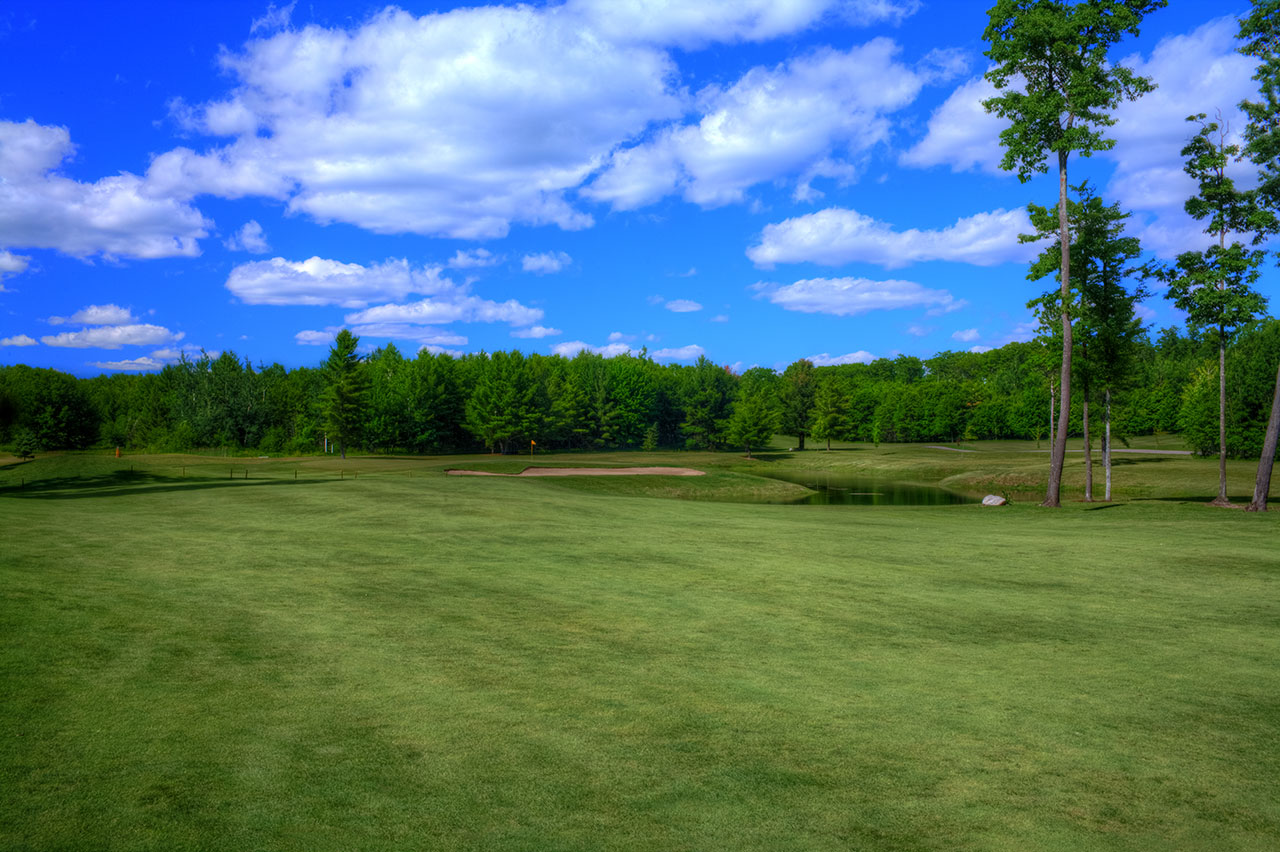
The sand bunkers located strategically near the landing areas off the tee and greenside, are of similar high quality. The diagrams on each scorecard provide hole layouts plus yardage measured to and over the bunkers and the 5 water hazards that come into play.
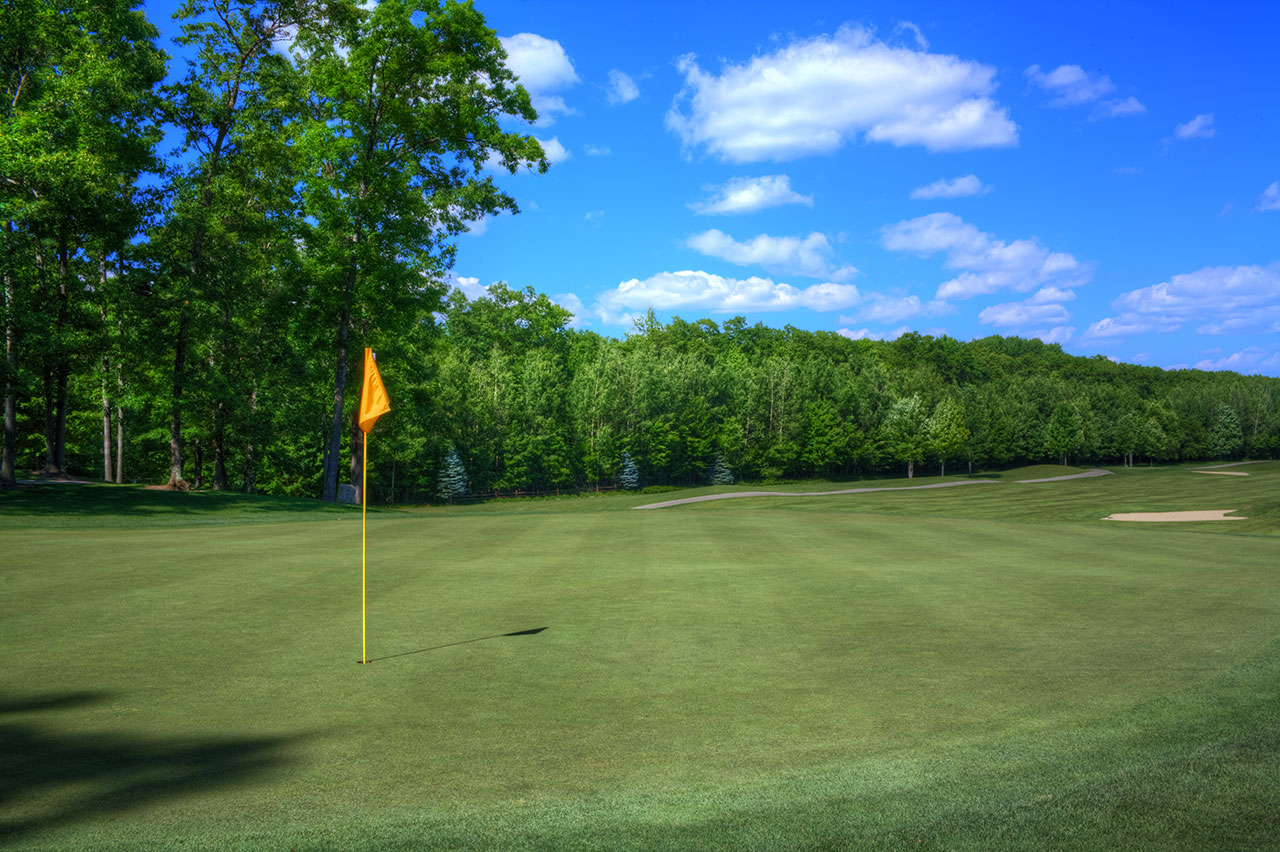
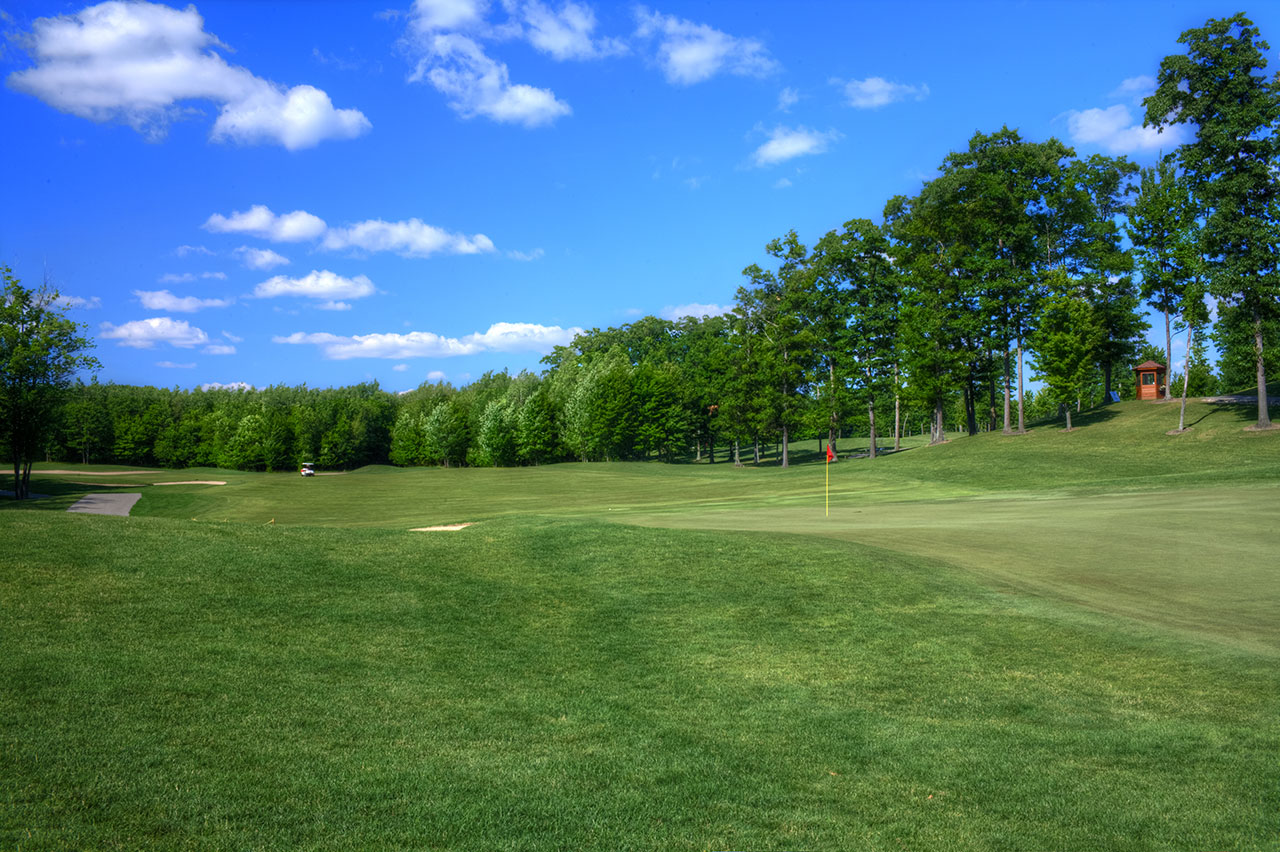
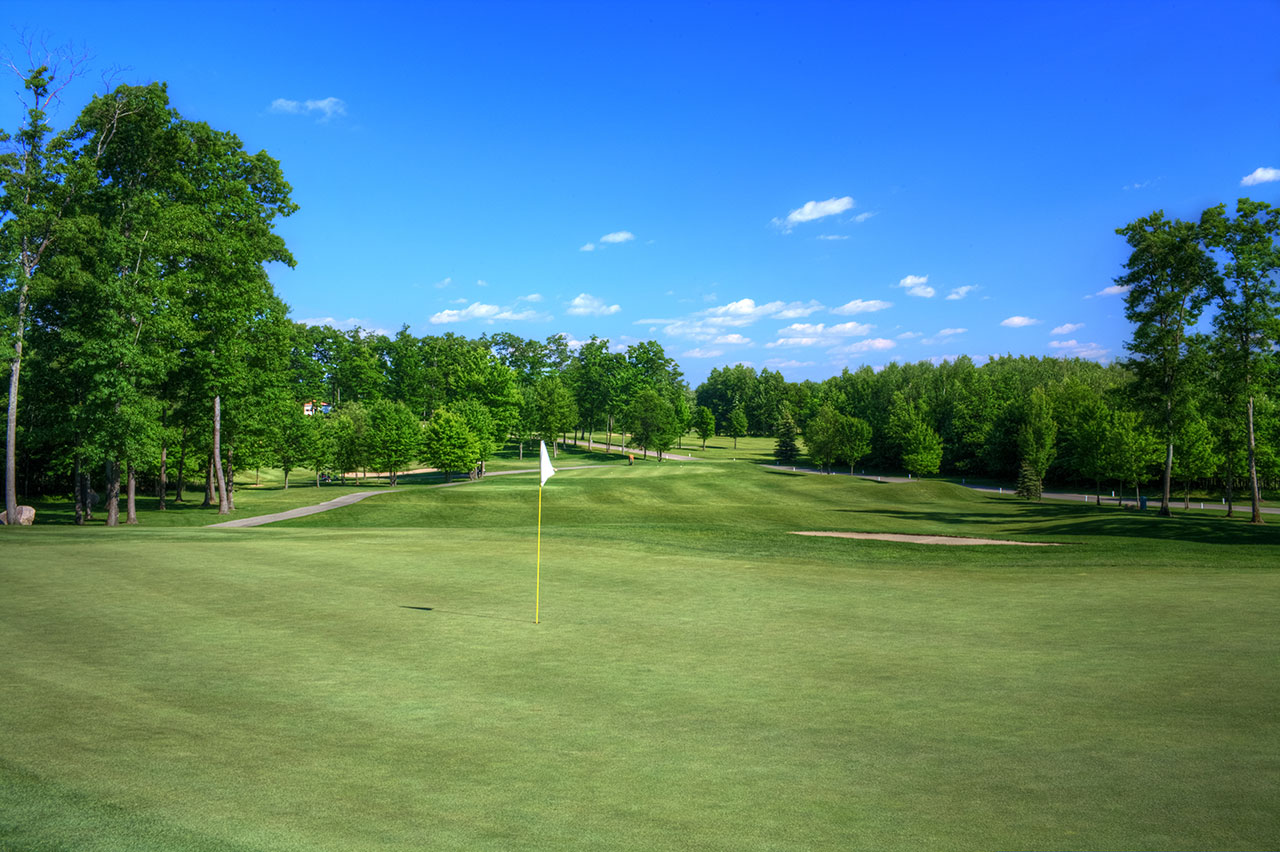
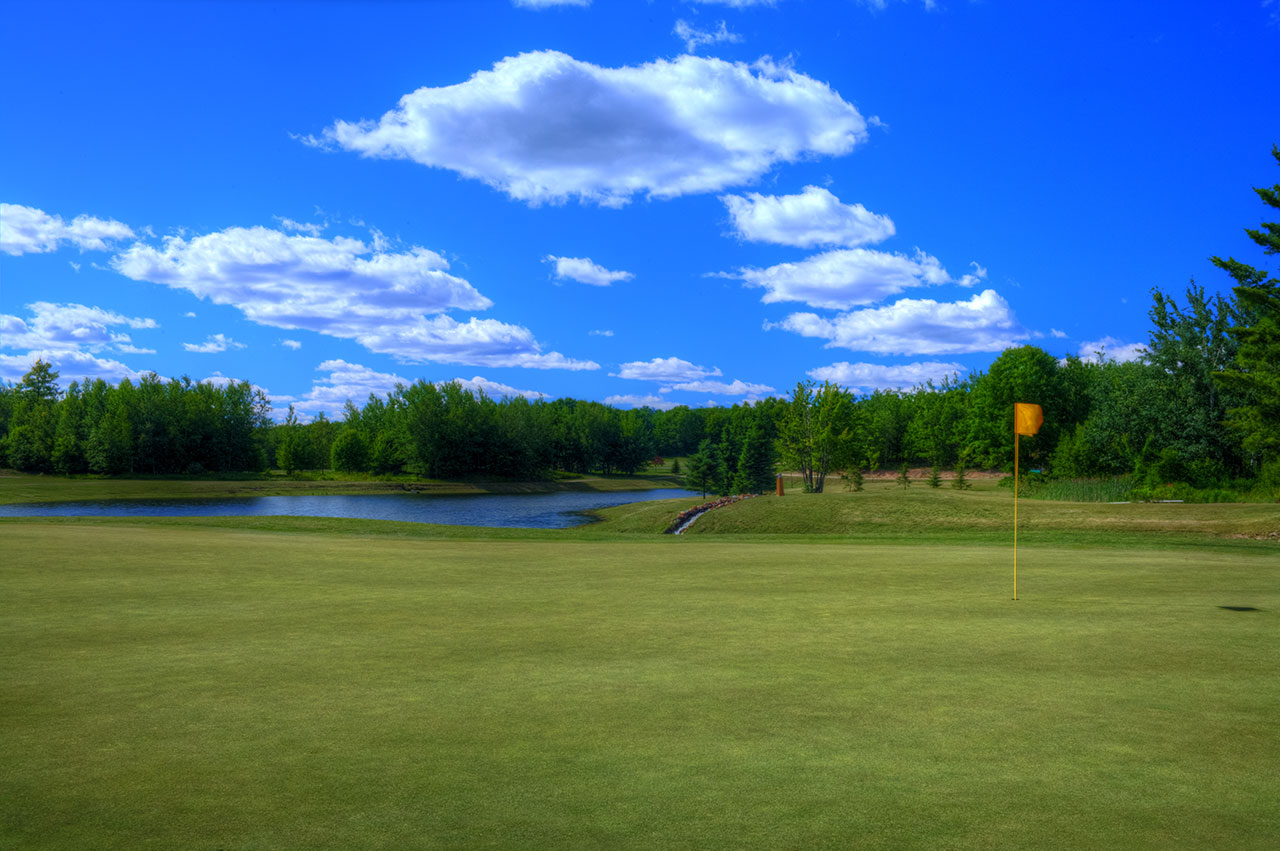
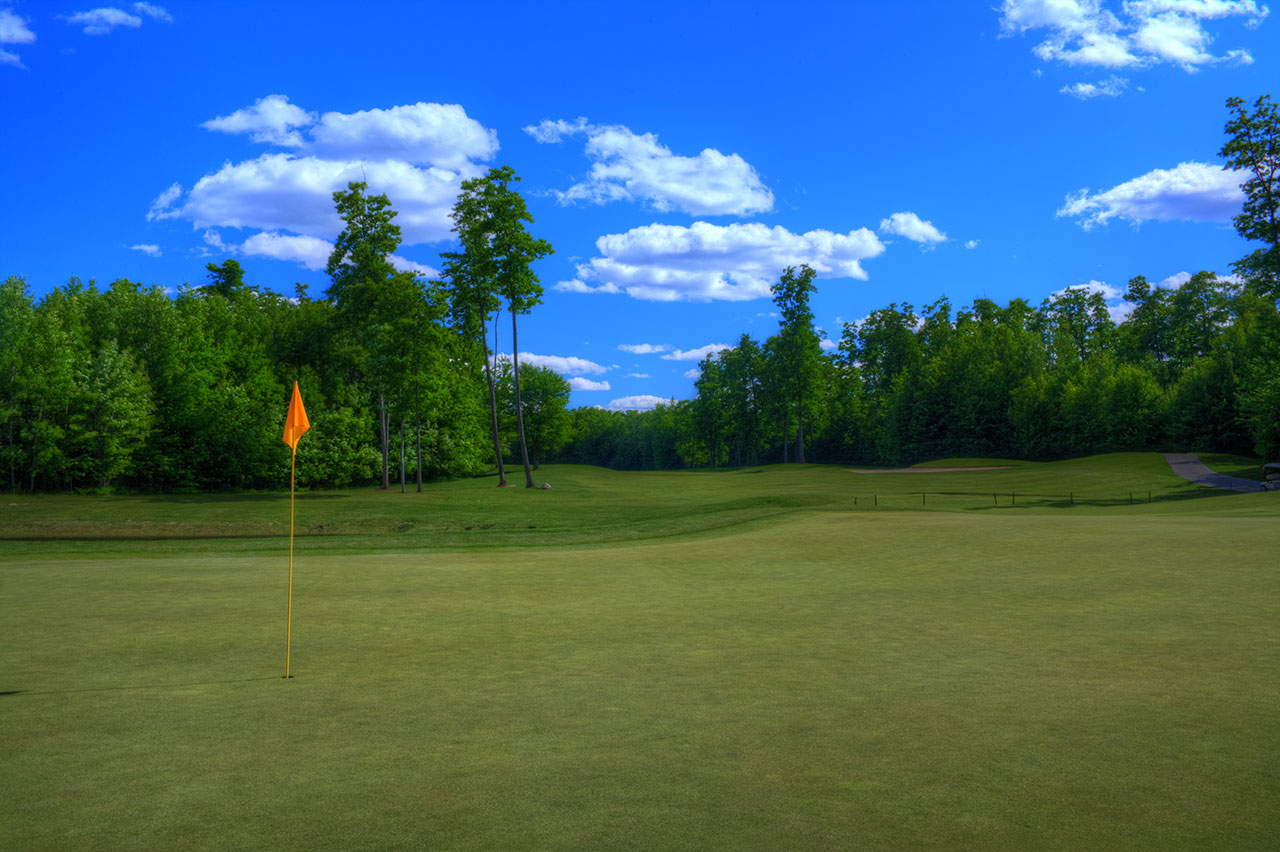
On the course golfers will have an easy time locating the 25-yard markers that are visible on the fairways from 200 to 100 yards in (from 250 on par fives). Hole locations are determined by color coded flags that indicate Red (front), White (middle) and Yellow (back) pin placements. Four sets of tees are currently featured, measuring 7019, 6527, 5814 and 5061.


Par: 72 | Yards: 5,061 – 7,019
Ratings:
Black 73.9 / 135 | Blue 71.4 / 130 | Combo 69.3 / 128 | White 68.4 / 126 | Green 64.6 / 113
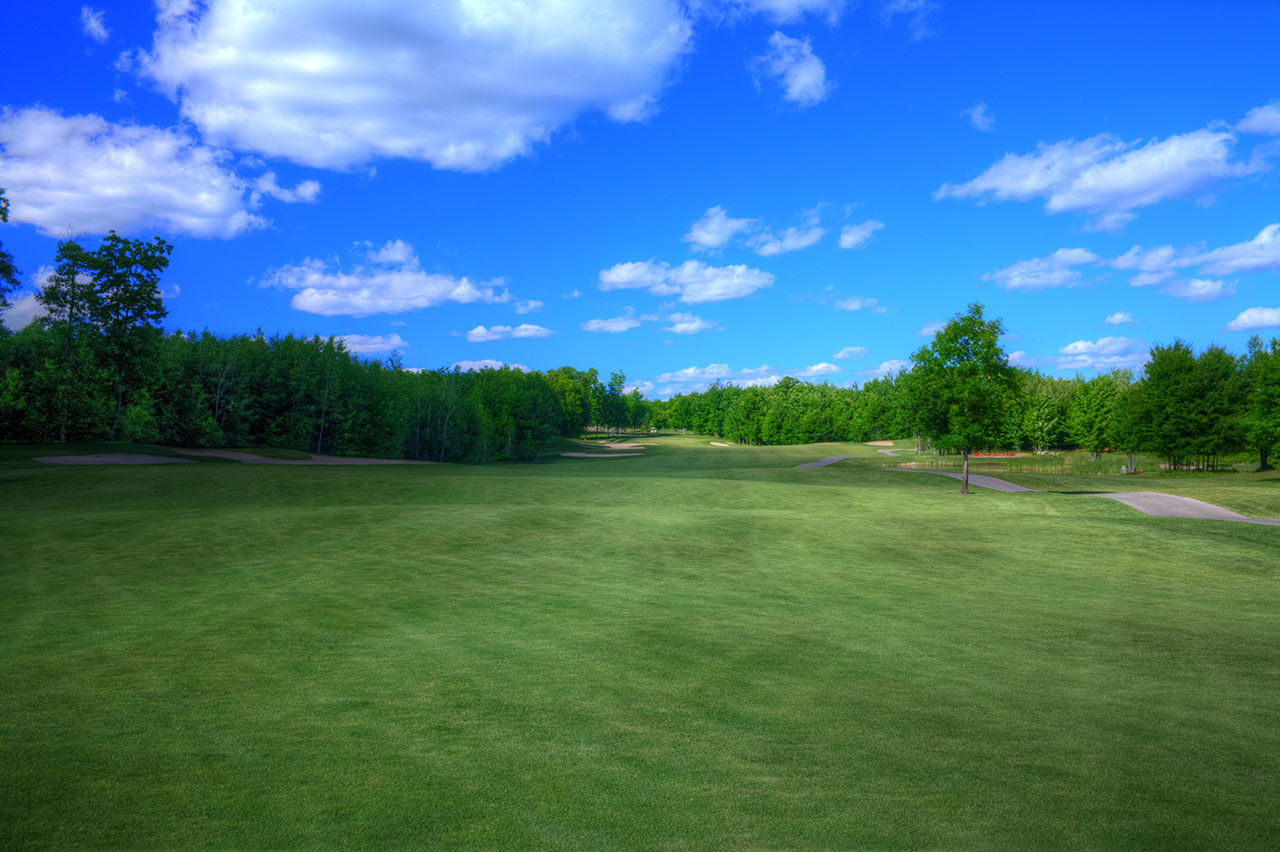
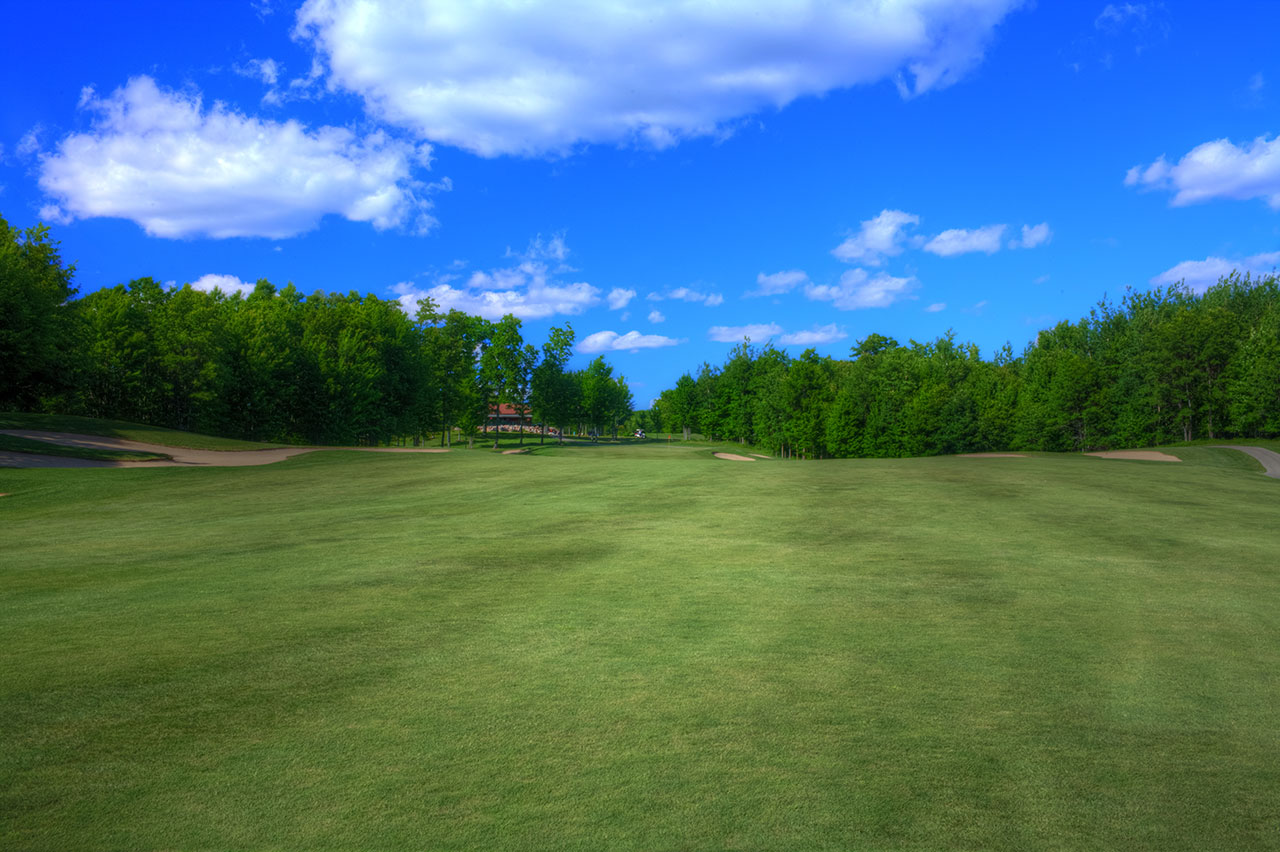
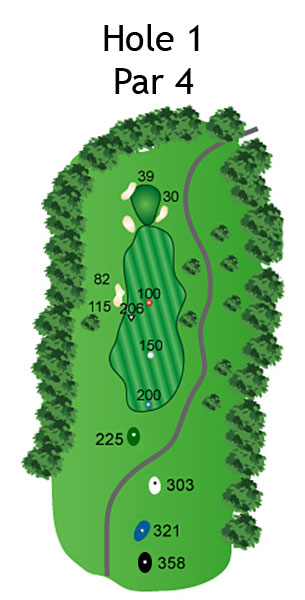
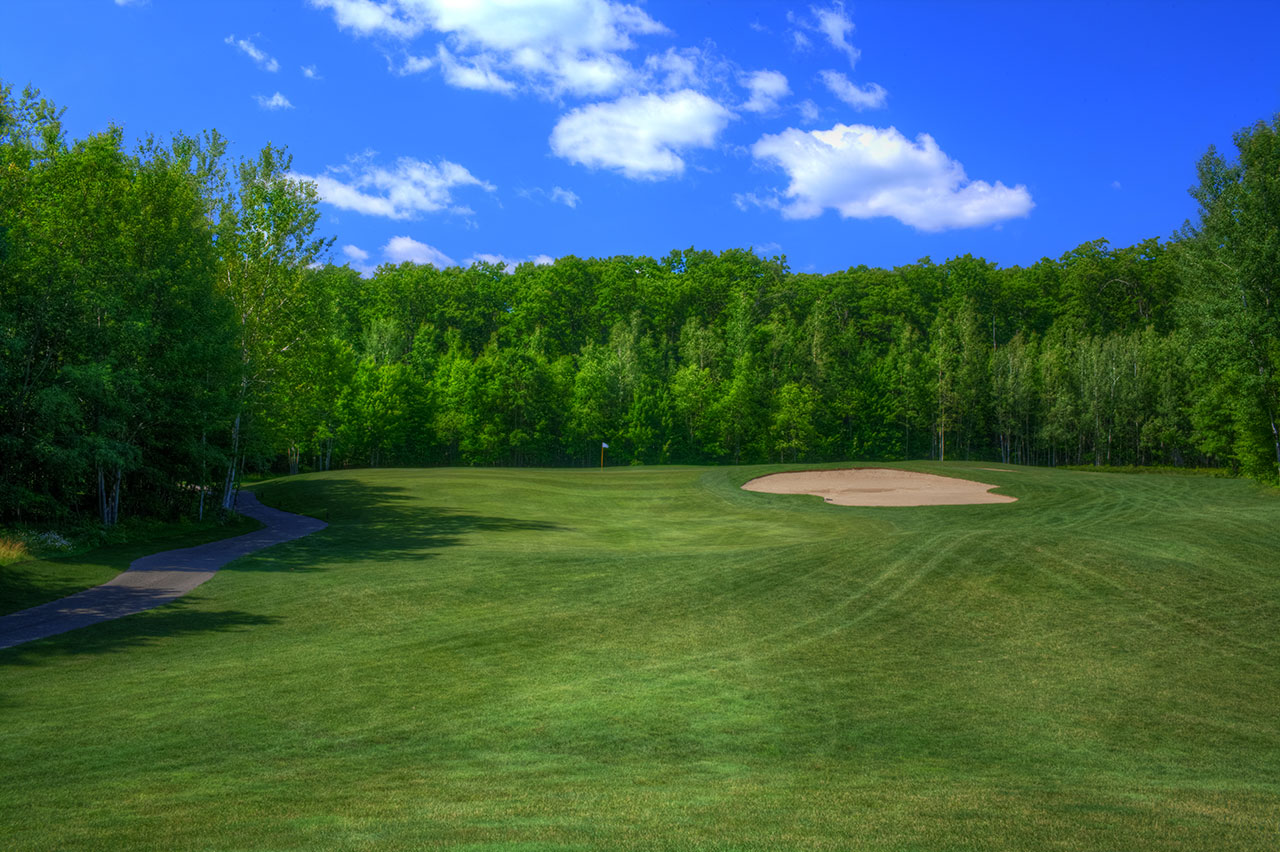
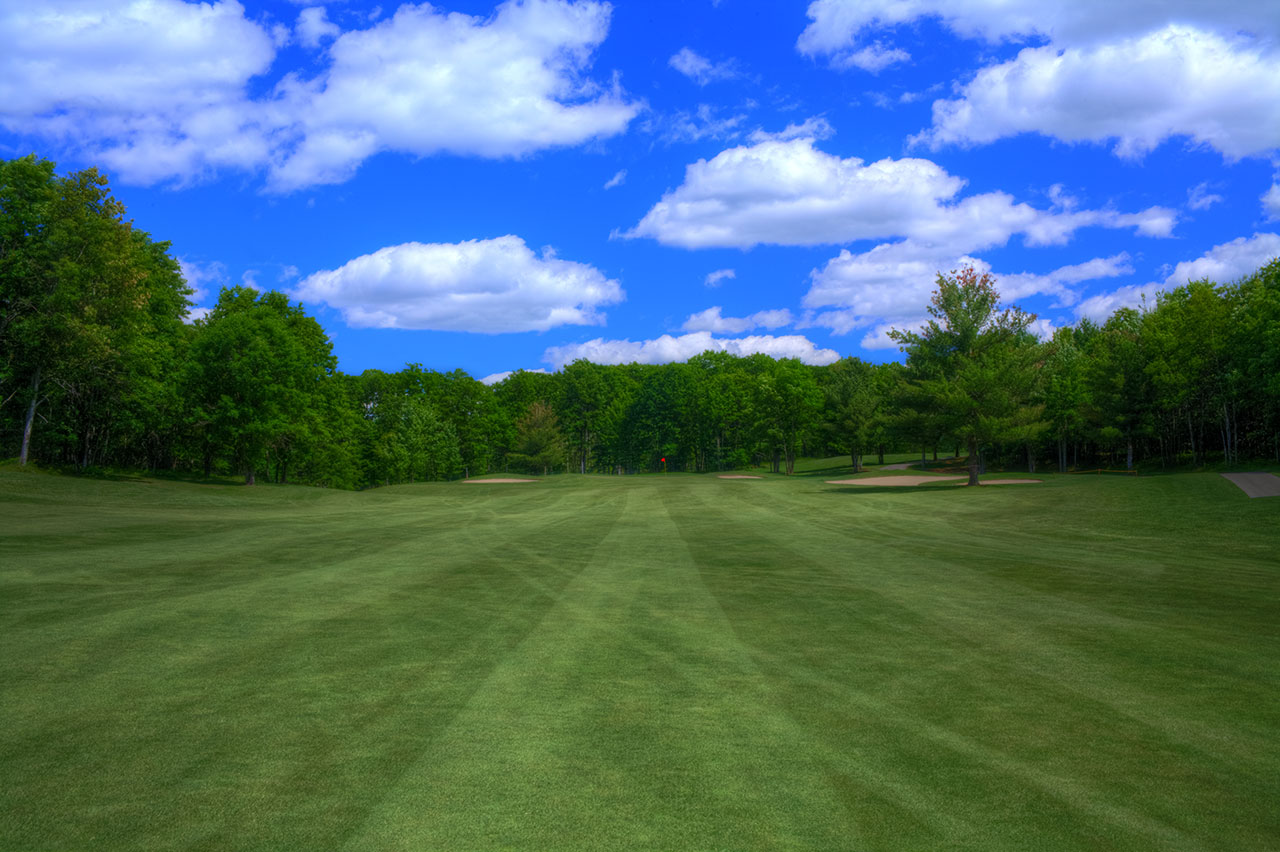
Hole 1 – Par 4
An easy starting hole. Hit this fairway off the tee, and your approach shot is pretty straight forward. Be careful not to fly the green on your second shot as there is a deep bunker behind the green.
Black – 358
Blue – 321
Combo – 321
White – 303
Green – 225
Handicap – 13


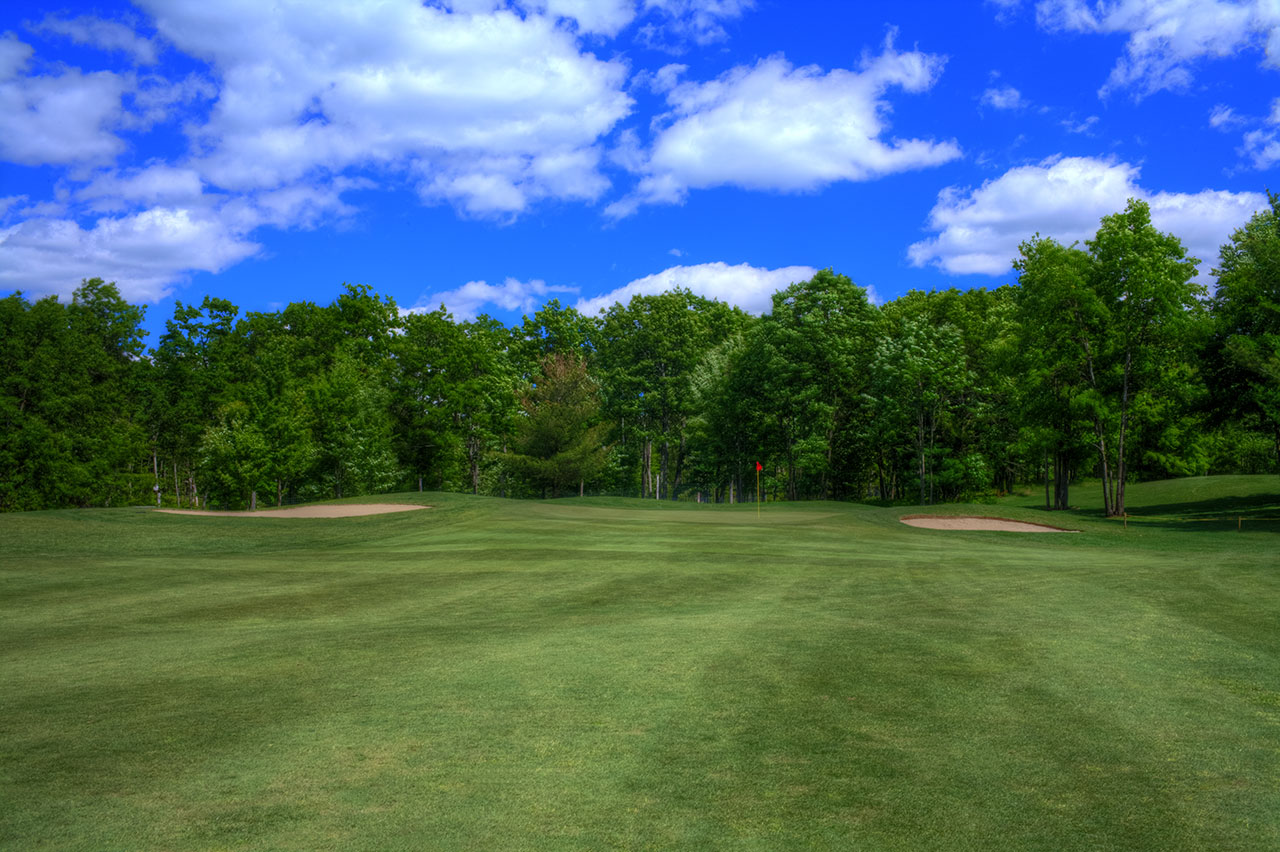
Hole 2 – Par 3
This par 3 is pretty much straight forward. Take enough club to carry the front bunker, but be careful, two large greenside bunkers guard the back of the green. A cut shot may be your best option if the pin sits back right.
Black – 216
Blue – 184
Combo – 184
White – 150
Green – 109
Handicap – 15


Hole 3 – Par 4
The most demanding Par 4 on the course. It’s best to play your tee shot to the right side of this fairway, but it doesn’t get any easier once that is done. Your approach shot must carry the elevated green as anything left short will not roll on, so take an extra club.
Black – 462
Blue – 404
Combo – 312
White – 312
Green – 230
Handicap – 5


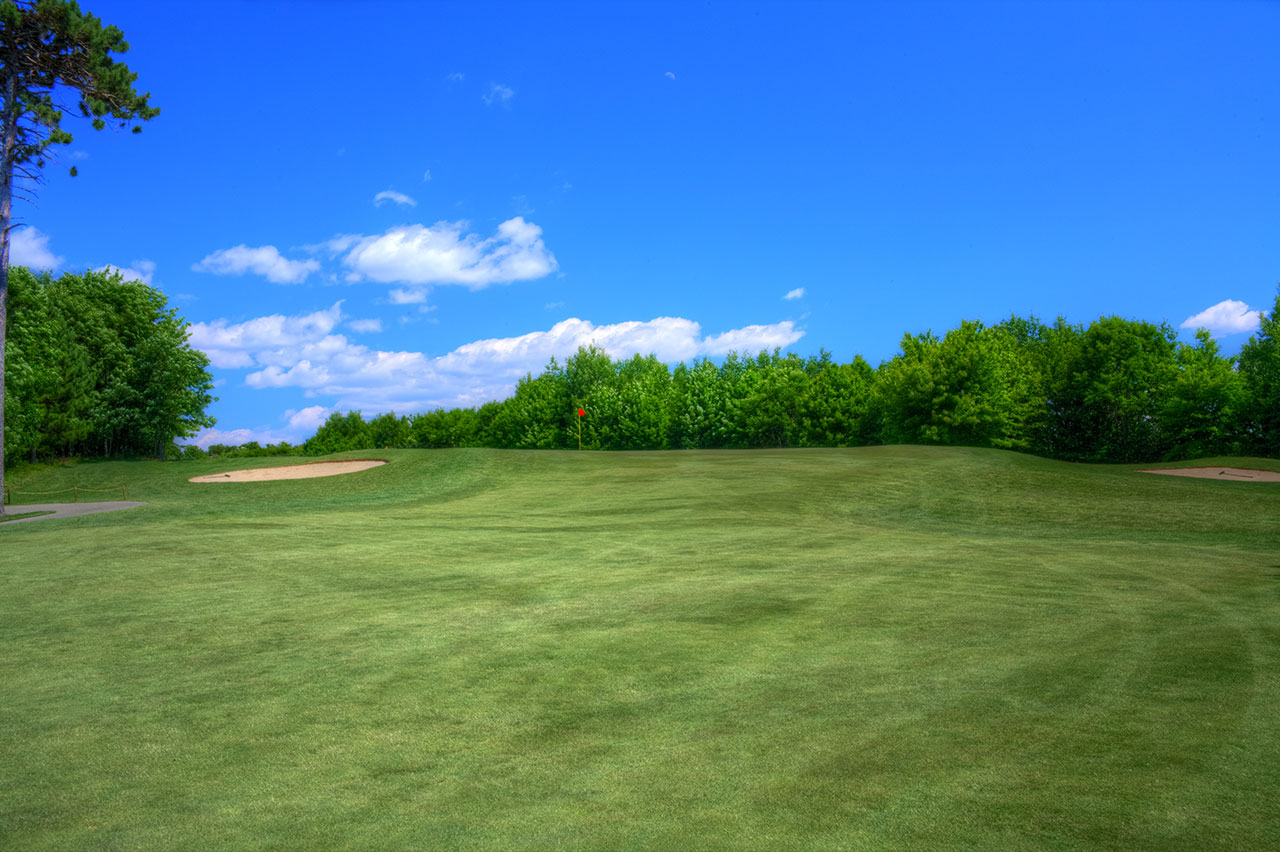
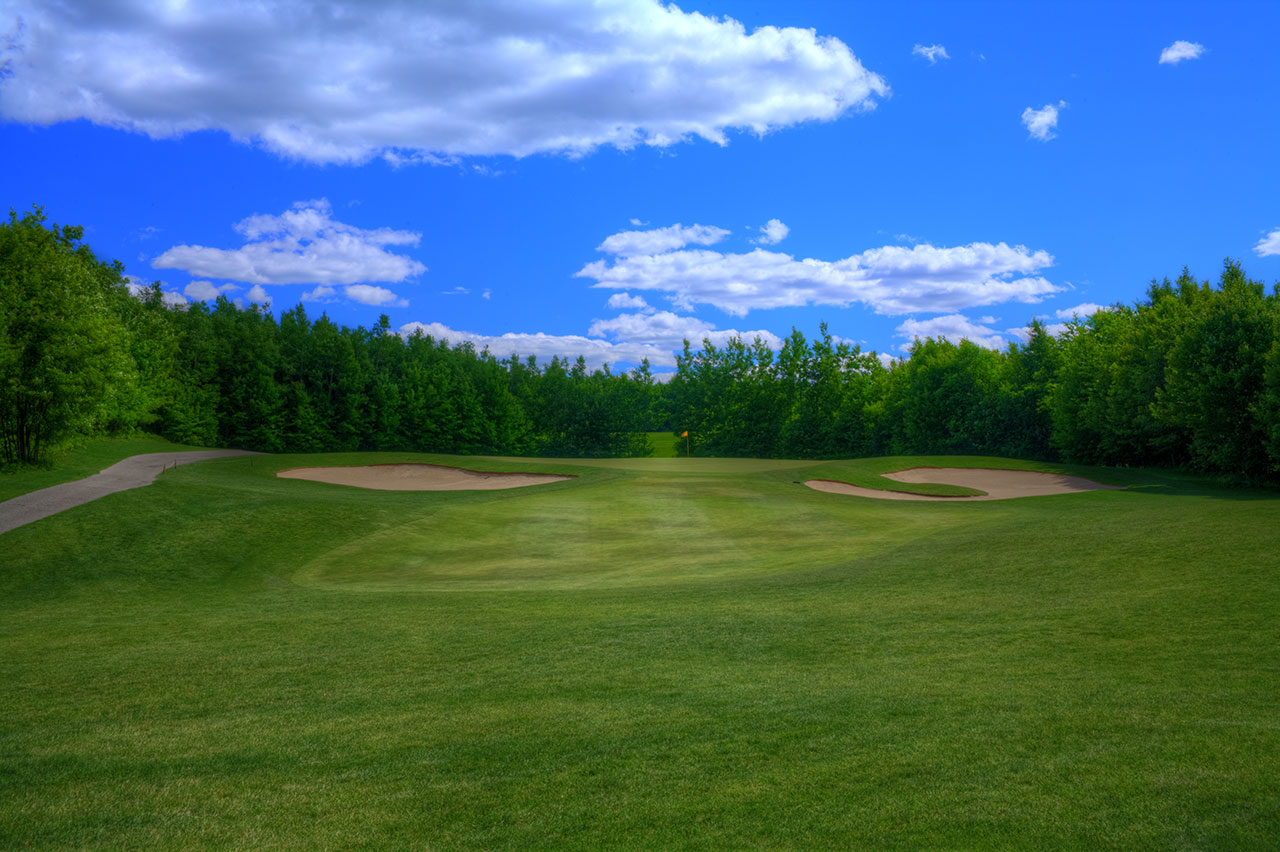
Hole 5 – Par 3
This hole boasts a truly deceptive false front. Make sure to take enough club as the green is slightly elevated. If you miss the green, miss right.
Black – 191
Blue – 175
Combo – 175
White – 144
Green – 122
Handicap – 17


Hole 6 – Par 5
Pound your tee shot right of center and steer clear of the large fairway bunker on the left. Everything from here on, is all uphill. Take enough club. The green is most receptive to shots from the right side of the fairway, but you will flirt with the bunker. This green is extremely undulating and narrow.
Black – 573
Blue – 544
Combo – 515
White – 515
Green – 462
Handicap – 3


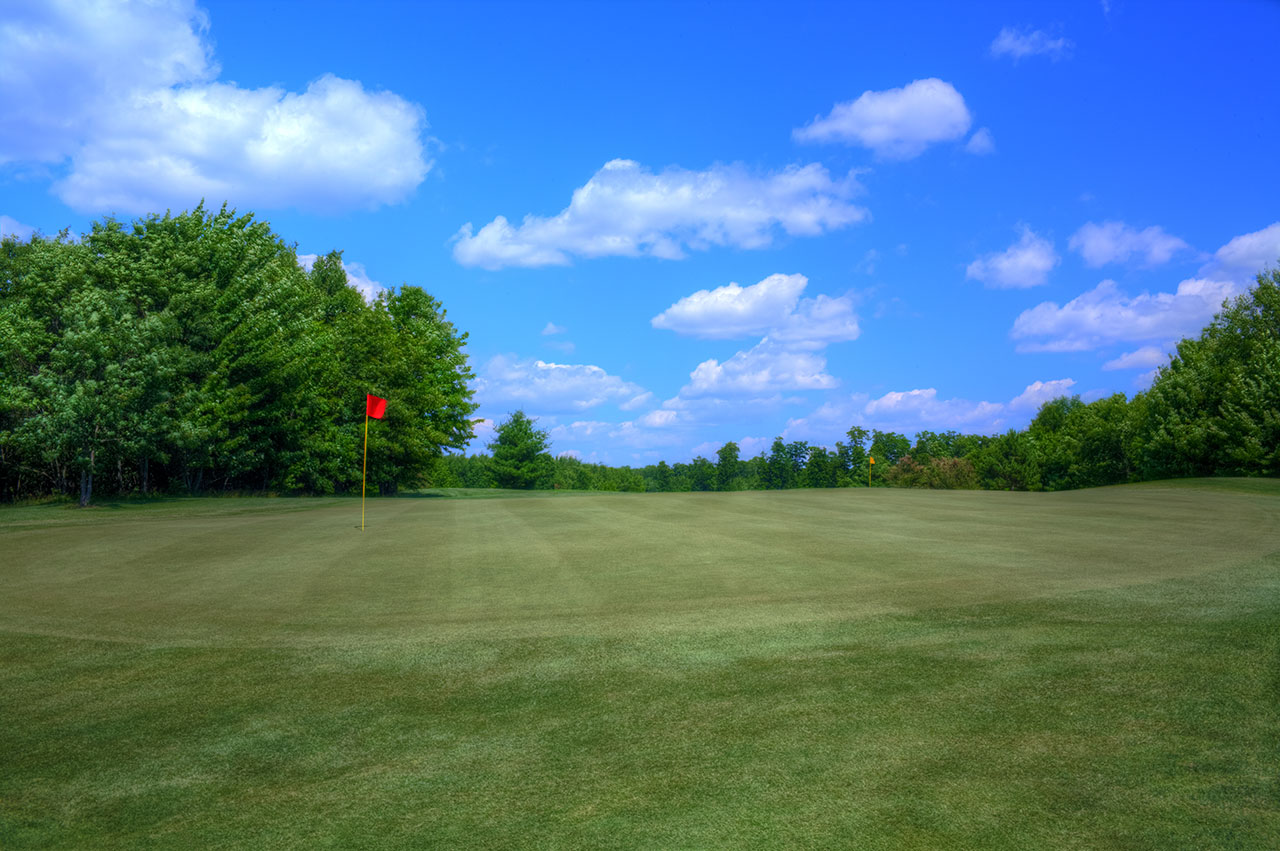
Hole 7 – Par 4
Stripe your tee shot right down the center of the fairway here. Errant shots right may catch the pond, and shots too far left leave a difficult approach as a large tree protects the green. This double green is shared with #17.
Black – 341
Blue – 320
Combo – 300
White – 300
Green – 252
Handicap – 11


Hole 8 – Par 5
The number one handicap hole at The Nightmare. Tee shots should be left of center. Continue to play your approach shots to the left of the fairway, as the closer to the green you get the more bunkers you will encounter on the right.
Black – 626
Blue – 603
Combo – 530
White – 530
Green – 436
Handicap – 1


Hole 9 – Par 4
Go ahead try, and carry these bunkers. The smart play is right of center. Of course with this dogleg left your approach shot is a lot longer from the right. The question is do you feel lucky? The green is heavily bunkered from the right side and all carry.
Black – 443
Blue – 427
Combo – 374
White – 374
Green – 367
Handicap – 7


Hole 10 – Par 4
A pretty straight forward par 4. Tee shots should be down the center, keeping in mind that the fairway slopes down to the right. Don’t be short on your approach shots, the two front bunkers catch a lot of shots left short.
Black – 313
Blue – 291
Combo – 291
White – 257
Green – 220
Handicap – 16


Hole 11 – Par 5
The tee shot should be aimed at the left side bunker and fade it to the center. Long hitters may be able to get home in two. There is water in front, and a huge bunker guarding the front of the green. Oh yeah, the bunker behind the green is larger than the one in front. We suggest that you lay up and let your short game do the work.
Black – 483
Blue – 453
Combo – 453
White – 423
Green – 412


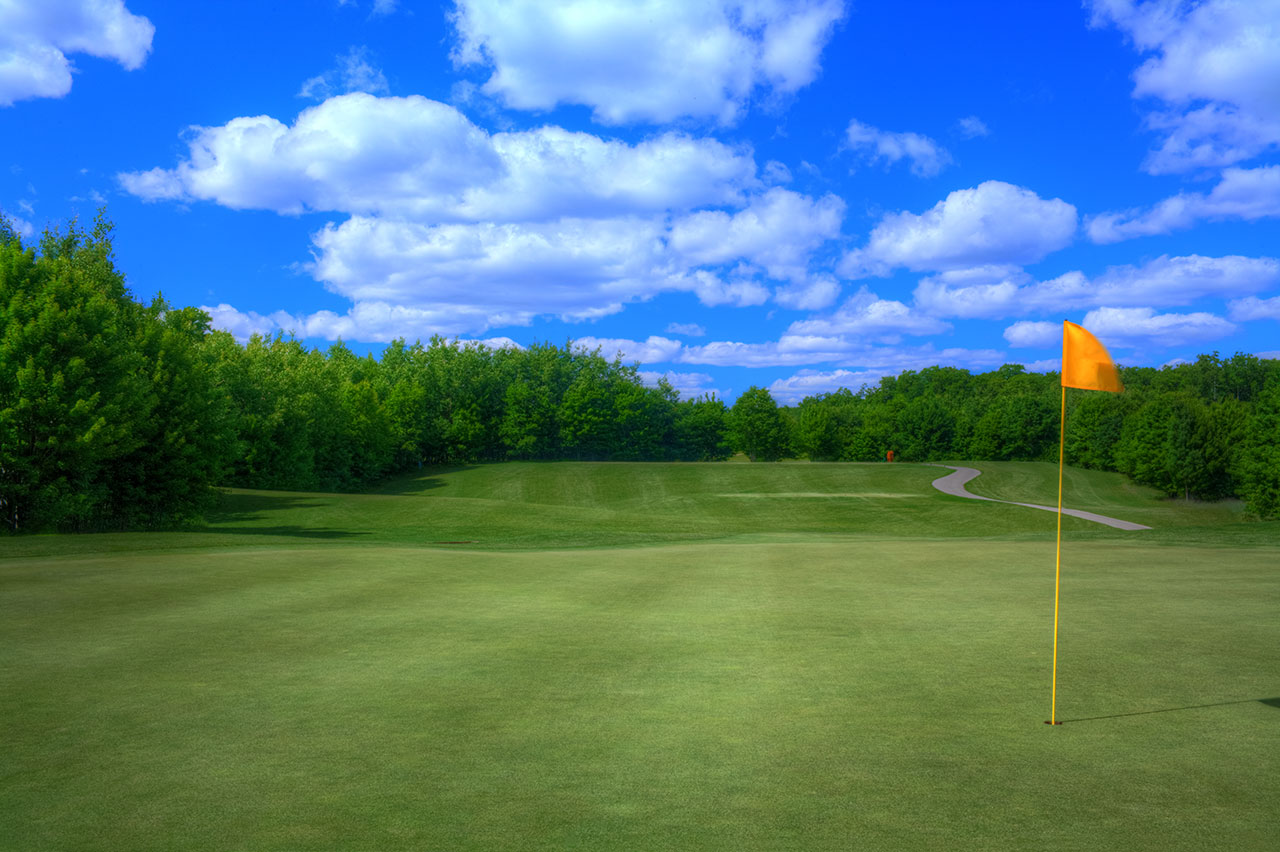
Hole 12 – Par 3
What you see is what you get here. Make sure to be long enough, the green is plenty deep and wide enough to accommodate. There aren’t any hidden bunkers behind the green, but it does drop off severely.
Black – 161
Blue – 146
Combo – 146
White – 130
Green – 98
Handicap – 18


Hole 13 – Par 4
Keep all shots just to the right of the left bunker. Long hitters may opt to blow it over the bunker, favor the right side. The fairway narrows toward the green. Greenside bunkers here at the 13th are extremely large and deep. Hitting the green on your approach here is a must.
Black – 434
Blue – 397
Combo – 355
White – 355
Green – 314
Handicap – 8


Hole 14 – Par 3
A wonderful par 3. Hidden bunker on the back side of the green catches many errant shots. A Peninsula green has water to the back and both sides. Consider one club less and aim to the front of the green.
Black – 214
Blue – 193
Combo – 193
White – 128
Green – 122
Handicap – 12


Hole 15 – Par 4
A well struck tee shot in the center of the fairway is a requirement. The fairway sits up on a plateau and drops off severely from the right. Approach shots need to be long enough to carry the bunker guarding the front of the green. There is also a small, deep pot bunker in the front and to the right of the green. It is better to be long than short.
Black – 413
Blue – 396
Combo – 368
White – 368
Green – 294
Handicap – 4


Hole 16 – Par 4
Everything plays uphill, so make your club selection wisely. The water can be reached on your tee shot if you lose it right. You will need a precise approach as water surrounds the green. A long approach will almost always find the shallows.
Black – 360
Blue – 341
Combo – 341
White – 319
Green – 276
Handicap – 10


Hole 17 – Par 4
Tee shots should be left of the fairway bunker on the right. A bunker guards the back right of the green which is the smallest of the 18. Remember this green is shared by hole #7.
Black – 393
Blue – 364
Combo – 320
White – 320
Green – 314
Handicap – 14


Hole 18 – Par 5
Nobody said the last hole was going to be easy. Tee shots should be to the center or right of center. Watch out for the pond that creeps into play on the right. Second shots need to be in the fairway to take advantage of this large final green.
Black – 580
Blue – 553
Combo – 502
White – 502
Green – 490
Handicap – 2